How to Build an Efficient & Productive Greenhouse for Cheap:
In a previous article I went in detail about how I built a heated hothouse and a warmed greenhouse by making upgrades to inexpensive greenhouse kits I purchase from the store and from Amazon. Still, most people don’t have the space nor the resources for such ventures. Last year, I put up another greenhouse but this time I added no upgrades and I made sure the kit itself was the cheapest (durable) one I could find on Amazon. I wanted to prove that anyone can own a successful greenhouse setup for less than $100USD all in.
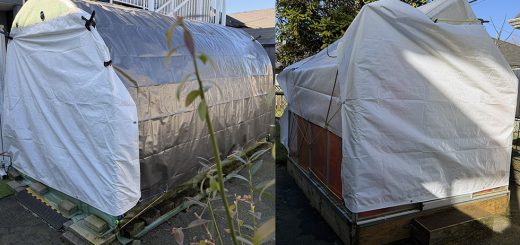
First of all, Ohuhu brand is my manufacturer of choice when it comes to durable budget greenhouses. This time I got a 6’x6’x6.5’ portable tunnel greenhouse for less than $75CAD/$50USD. The heavy-duty mesh cover that the company uses has proved strong against all types of weather through the years on my heated greenhouse (hothouse). With a few basic electric cables and discount planters/hydroponic grow pots, I was ready to go. The goal of this greenhouse was to use the sun alone for light & heat as well as to maximize the produce yield vs cost incurred.
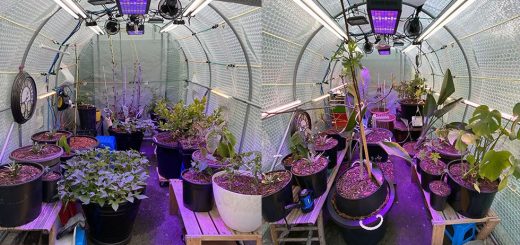
Unlike my other greenhouses which are setup to grow tropical & subtropical fruits, this basic greenhouse won’t be used for such frivolous endeavours. Bang-for-the-buck is the mission here so the first crops had to be herbs, chilies and tomatoes. I put my Root Farm hydroponic grow systems out on a table connected them to an old aquarium pump. I planted in a few Thai peppers/basil, sweet basil & jalapeño seedlings and they grew like crazy under the full sun. The cost of hydroponic nutrients was very low as many brands went for steep discounts at most stores. It cost me just a few $bucks to feed these plants for the entire season.
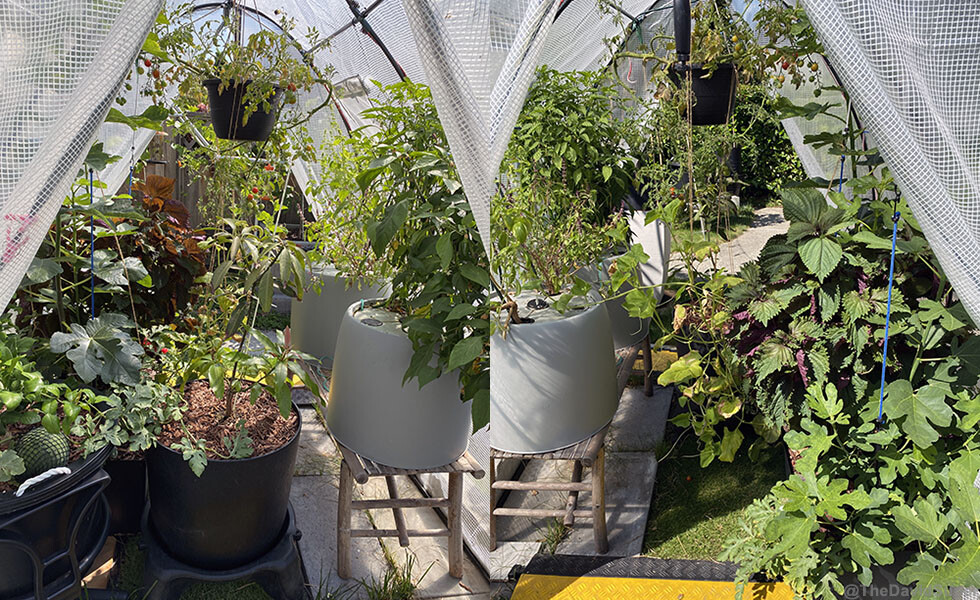
Also, I purchased a large wide planter (75% off clearance price) and stuck 2 fig cuttings that I sprouted on each side. I threw in some perilla & Sugar Baby watermelon seedlings in the middle as well, then I waited to see the results. It took just a couple of months for the tiny seedlings to fully grow into mature plants. The key to success was the positioning of the greenhouse (full sun/protected from wind)… in our hardiness zone 8, this was more than adequate for the plants to flourish. Things were going so well I even threw in my Kaffir lime & young mango tree. I was harvesting crops daily from late spring to fall. All I had to do was to add nutrients, fertilize and kept regular pruning/watering.
Overall, this little greenhouse was in full operation from April Fools to Halloween… whilst from November to March end it’s used to overwinter a few hard-frost sensitive “cold hardy” plants. I estimate this upcoming year’s crops should pay off the total expense of the setup. Depending on the type of crops you grow in such a greenhouse, it could have paid itself off in just one growing season. My advice is to look for clearance/garage sales & dumpster dive for garden supplies… if you look closely at the title photo you can see that I used a couple of trashed office chairs as mobile planter stands. Anyone with a bit of space can have their own successful greenhouse, it’s a ton of fun and super rewarding.